Install Like a Pro — or Let One Handle It!
If you're planning to go the DIY installation route, there are a few key things to consider. There are no hydraulics with Lewmar shallow water anchors, so DIY installation isn’t as intimidating as it might sound. If you’re comfortable with basic tools and wiring, you’re already halfway there.
How to Install Lewmar Axis™

Important Information
For DIY installation, Lippert recommends that installers have an intermediate level of mechanical and electrical aptitude, as well as the ability to lift between 35-50 lbs.
Axis Installation: Required Resources

9/16" wrench
9/16" socket with ratchet
#2 Phillips drive bit or screwdriver
Flathead screwdriver
Cordless or electric drill or screw gun
1/8", 3/8", and 1/2" drill bits
Wire cutter/stripper/crimper
Heat shrink connectors
Tape measure
4' straight edge
Utility knife
Heat gun
Marine-grade sealant
Non-permanent marker
Axis Installation: Step-By-Step Overview
Step 1: Choose Mounting LocationIdentify a clear transom space above the waterline that avoids interference with trim tabs and the motor.
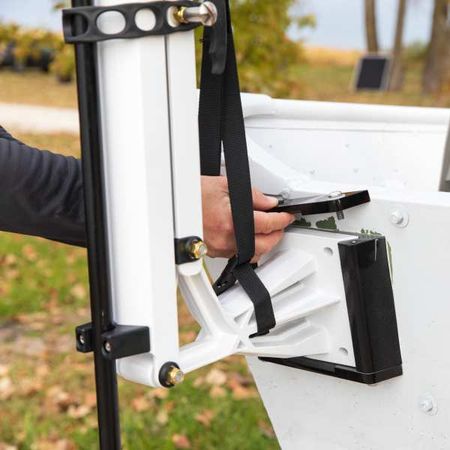
Step 2: Drill Mounting HolesMark and drill four mounting holes using a template. Apply marine-grade sealant before securing the bracket.
Step 3: Mount the AnchorAlign the anchor’s mounting bracket with the drilled holes and secure it using the provided hardware.
Step 4: Install the RF ModuleMount the RF module near a power source, using the template for accurate placement. Secure with screws.
Step 5: Wire the SystemConnect the power leads to a 12V source and plug the RF module into the anchor using the included harness.
Step 6: Program the RemoteSet the RF module to either momentary or latching mode and sync the key fob for remote operation.

How to Install Lewmar Vector™

Required Resources
9/16" wrench
9/16" socket with ratchet
Cordless or electric drill or screw gun
1/8", 3/8", and 1/2" drill bits
Tape measure
4' straight edge
Marine-grade sealant
Non-permanent marker
Installation Overview
Step 1: Determine Mounting LocationSelect a clear area on the transom above the waterline. Ensure no interference with trim tabs or the motor’s range of motion.
Step 2: Mark and Drill HolesUse the anchor bracket as a template to mark hole locations. Drill pilot holes, then open them up with a 3/8” bit.
Step 3: Seal and Prepare SurfaceApply marine-grade sealant to both the bracket and the holes to prevent water intrusion.
Step 4: Mount the AnchorAlign the bracket with the drilled holes. Insert bolts with washers and secure with lock nuts from inside the transom.
Step 5: Tighten HardwareUse a wrench and socket to fully tighten all bolts, ensuring a secure fit without damaging the finish.
One Anchor, Endless Mounting Possibilities
Our versatile mounting brackets work with both manual and electric shallow water anchors, offering simple, secure installation across a wide range of boat types.
DIY Mounting Brackets
Easy-to-install options for confident do-it-yourselfers

Quick Release
Available in black or white, this dovetail-style bracket mounts to your boat's transom or other brackets, allowing for simple slide-out removal for trailering, storage, or switching between boats.
DIY installation port or starboard with included hardware
Compatible with other Lewmar mounting brackets
Durable E-coated aluminum finish
Measures 8" x 6" x 1.5"

Pontoon Deck
The Lewmar pontoon deck mounting bracket makes shallow water anchoring easy, allowing you to attach the Axis or Vector anchor for reliable, precise anchoring on your pontoon.
DIY installation directly to the deck with included hardware
Compatible with Quick Release mounting bracket
Durable E-coated aluminum finish
Hardware included

Jack Plate
The jack plate mounting bracket allows you to mount your shallow water anchor without drilling holes or removing the motor, preserving your boat's integrity.
DIY installation port or starboard with included hardware
Compatible with Quick Release mounting bracket
Durable E-coated aluminum finish
Hardware included
Advanced Mounting Option
Requires Specialized Equipment Best Left to the Pros

Motor Mount
The motor mounting bracket attaches between your outboard motor and transom, eliminating the need for hull drilling and preserving your boat’s integrity. Professional installation is recommended, as it requires specialized equipment to properly support the motor during installation
No-Drill installation between outboard motor and transom
Compatible with Quick Release mounting bracket
Durable E-coated aluminum finish
Hardware included
Prefer to Skip the Tools?
Let the Experts Handle It! Use our dealer locator tool to find a certified installer near you.